How to dye a vintage dress using Procion MX?

The Procion MX dyes are popular with textile artists and hobbyists who want to give old fabrics a new look. The vivid colors, durability, and friendliness of cellulose fibers like cotton, linen, and rayon—all of which frequently appear in vintage apparel—are the hallmarks of these fiber-reactive dyes. Procion MX dyes are inexpensive and easy to experiment with at home, considering they come in various color combinations and work well with cold-water dyeing.
Using an appropriate dye is essential to maintaining the fabric’s integrity and historical significance in this vintage clothing. Procion MX dyes’ molecular composition allows them to create a covalent link with the fabric fiber, reducing the possibility of fading and damage and preserving the vintage dress’s distinctive qualities. The chemical stability and dependability of Procion MX dyes, as well as their function in maintaining the beauty and caliber of appreciated vintage items, are highlighted in this introduction.
Materials Needed

A few materials are required to effectively dye a vintage dress with Procion MX dyes:
- Procion MX Dye Colors: It depends on the outcome you want; choose the right colors. To create distinctive color variations for your clothes, investigate mixing one or more of these dyes; they can provide hues.
- Measuring Spoons and Cups: To guarantee successful outcomes all through the dying process, accurate calculation counts when integrating dye solutions and additives.
- Rubber Gloves: Rubber has become essential for protecting your hands against chemical reactions and dye stains while experimenting with dyes.
- A Large Plastic or Stainless Steel Container: The dye bath should be made in this container. The material selection maintains the quality of the pigment solution by keeping the dye from reacting with the container.
- Soda Ash (Sodium Carbonate): To provide long-lasting color adherence, this essential fixative helps the dye bond with the cloth fibers.
- Synthrapol Detergent or Mild Liquid Dish Soap: To get rid of any oils or residue that may cause problems with the cloth’s ability to absorb the dye, these cleaning agents are used to cleanse and rinse the fabric.
- Old towels or plastic sheeting: These will keep your workspace tidy and secure by concealing it from unexpected dye splatters and spills.
- Protective Wear (Apron and Mask): In on an apron to safeguard the clothing from stains, and use a mask to avoid breathing in fine dye particles, especially if you’re working in an area with poor ventilation.
Preparing the Dress

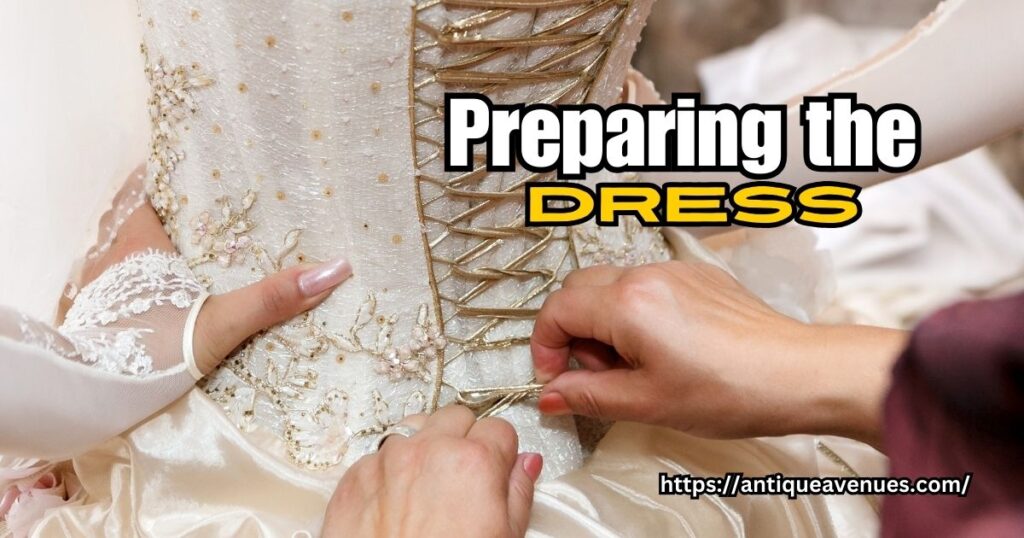
To achieve optimal outcomes and protect the fabric, the vintage clothing must be meticulously cleaned before the dying process starts.
Pre-wash the Dress: In the beginning, give the outfit extensive laundering using a light fluid dish soap or Synthrapol cleaner. In this phase, any dirt, oils, or fabric softeners that can prevent the dye from adhering to the fabric fibers are removed. To remove any detergent residue, wash the fabric in warm water and rinse it carefully.
Inspect the Fabric: Take a few minutes to look for any indications of wear, tear, or damage after the dress has been cleaned. Examine the fabric for thinning areas, fraying, and weak seams. Select care of any problems that could get worse while the dyeing process is underway. To prevent deterioration, fix trivial issues like loose threads or tiny tears.
Test for Colorfastness: The assessment of the dress’s colorfastness on a tiny, distinct section to ensure the dye will apply properly and uniformly. Set a tiny bit of the dye color of your choice to the test area after mixing it. After letting it sit for the suggested amount of time, rinse and pat dry. Check if the desired color is achieved without any adverse effects on the fabric. This test will help determine how the dress will react to the dyeing process and allow for adjustments if necessary.
Setting Up the Dye Bath

Setting up the dye bath correctly is critical to achieving vibrant and even color on your vintage dress. Follow these steps to ensure readiness for dyeing:
Mix the Soda Ash Solution: Starting with the manufacturer’s instructions, measure the right quantity of soda ash, usually about one cup per gallon of warm water. Pour the warm water into your large metal or plastic container, then slowly add the soda ash, stirring constantly to ensure it dissolves fully. The Procion MX color adheres to the cloth fibers with the aid of this fixative solution.
Submerge the Dress in the Soda Ash Solution: When the soda ash solution is ready, immerse the vintage dress completely in the container. Make sure the liquid absorbs through the whole dress and distributes evenly throughout the cloth. For at least 15 to 30 minutes, allow the dress to soak thoroughly in the soda ash solution. The fabric is better prepared to absorb its color thanks to this soaking treatment.
Prepare the Dye Solution: When the dress soaks, you can start making the dye solution. Since different colors may require different mixing ratios, examine the Procion MX dye carry box directions. Use your measuring spoons and cups for accuracy.
To maintain the integrity of the color, prepare each dye solution separately if you use many hues. In separate bowls, combine each dye with the warm water, stirring thoroughly to dissolve the dye powder. To ensure the garment absorbs rich, consistent color, this step prepares the dyeing process.
Dyeing Process

Carefully Place the Vintage Dress in the Dye Bath: After preparing the dye solutions and soaking the fabric completely in the soda ash solution, carefully submerge the vintage dress in the dye bath. To prevent unintended folds or creases that could hinder even dye application, ensure the cloth is completely immersed in the dye while gently repositioning the dress.
Stir continuously to ensure even color distribution. In the clothing, gently in the dye water to ensure a uniform dye application. Make sure every part of the dress is in contact with the dye by swishing it around with a long-handled spoon or a dye paddle. This constant stirring allows the color to fully infiltrate the fabric and helps avoid any sections from dying unevenly.
Allow the dress to sit in the dye for the recommended time, agitating periodically. Because different colors and concentrations may need different soak times, pay particular attention to the precise timing restrictions supplied by the dye producer. Throughout this period, carefully lift and move the dress inside the dye bath to stir it up. This periodic movement is crucial to ensure that the color is absorbed uniformly across the entire garment, leading to a vibrant and consistent result.
Rinsing and Setting the Dye
Thoroughly Rinse the Dress with Cold Water Until the Water Runs Clear: Take the clothing out of the dye bath, and give it a gentle rinse under cold running water after the recommended dyeing time has passed. Rinse again and again until the water is clear. To eliminate any loose dye particles and stop them from spreading to other fabrics in subsequent washings, this step is crucial.
Wash the dress with Synthrapol or a mild detergent to remove excess dye. When our customers have finished rinsing, use Synthrapol or a gentle liquid detergent to wash the dress. This extra washing helps rid of any extra dye that may remain on the fabric’s surface. Wash the dress gently with warm water, letting the detergent remove any dye residues that can cause more color leaking.
Rinse Again Carefully to Ensure All Detergent is Removed: Rinse the clothing under cold running water one last time after washing. You must rinse the fabric well to get rid of any residual detergent residues. In addition to helping secure the dye, this last rinse prevents any leftover detergent from compromising the fabric’s texture and the color’s adherence. Lay the garment flat in a shaded spot after rinsing it well and carefully wringing out any extra water.
Drying and Final Touches

Lay flat or hang the dress to dry. Avoid direct sunlight. It’s time to dry the garment after giving it a good rinsing. To maintain its shape, hang the garment on a padded hanger or lay it flat on a fresh towel or drying rack. Make sure it is out of direct sunlight and in well-ventilated surroundings. The hues may fade in the sun, especially if the fabric is still wet, giving it an uneven look.
Iron the dress on a low setting if necessary: The dress for creases and wrinkles once it has dried completely. To smooth out any undesirable lines, softly iron the dress on a low setting if necessary. Use a pressing cloth to protect the fabric from direct heat exposure. Be cautious and test a small area first, as excessive heat can alter the dye.
Review the final results and make adjustments if needed. Take a close look at the dress to ensure you are satisfied with the color and finish. Should there be areas where the color is not as intense as desired or certain patterns need enhancement, consider using a touch-up dyeing technique or fabric paints for minor adjustments. This step is essential to getting the outcome you want.
Tips and Troubleshooting
How to Achieve Various Dye Patterns and Effects: Vintage clothes can have character through distinctive dye patterns. Folding, twisting, or tying portions of the fabric can produce techniques like omber, shibori, or tie-dying. Experiment with different methods and colors for innovative results. Always test these methods on a small fabric sample before applying them to the dress to gauge the final effect.
Solutions for Common Dying Issues and How to Correct Them: Should the fabric exhibit patchy dyeing, revisiting the soaking process in the dye bath with agitation can enhance even distribution. To fix uneven dye absorption or achieve a deeper hue, repeat the dyeing process with additional dye. If any color bleeding occurs during initial washes, set the dye again with a fixative solution. For any remaining dye stains or bleeds on other parts of the fabric, spot treatments with synthrapol or similar products can effectively address them.
Conclusion
In recap, dyeing a vintage dress involves numerous precise steps, each essential for achieving a vibrant and even finish. The process begins with preparing the fabric with a soda ash solution, followed by careful immersion in a dye bath while continuously stirring to ensure uniform color distribution. Rinsing with cold water and washing with Synthrapol or a mild detergent helps set the dye and prevent future color bleeding. Drying the dress away from direct sunlight preserves the intensity of the colors, and ironing it on a low setting provides the finishing touch.
Proper care for your dyed vintage dress is critical in maintaining its appearance over time. Always wash it gently and separately, using mild detergent to avoid residual dye transfer. Consider hand washing with cold water and laying it flat to dry to preserve both the color and fabric integrity. By following these care instructions, your newly transformed vintage dress will continue to be a cherished item in your wardrobe.


